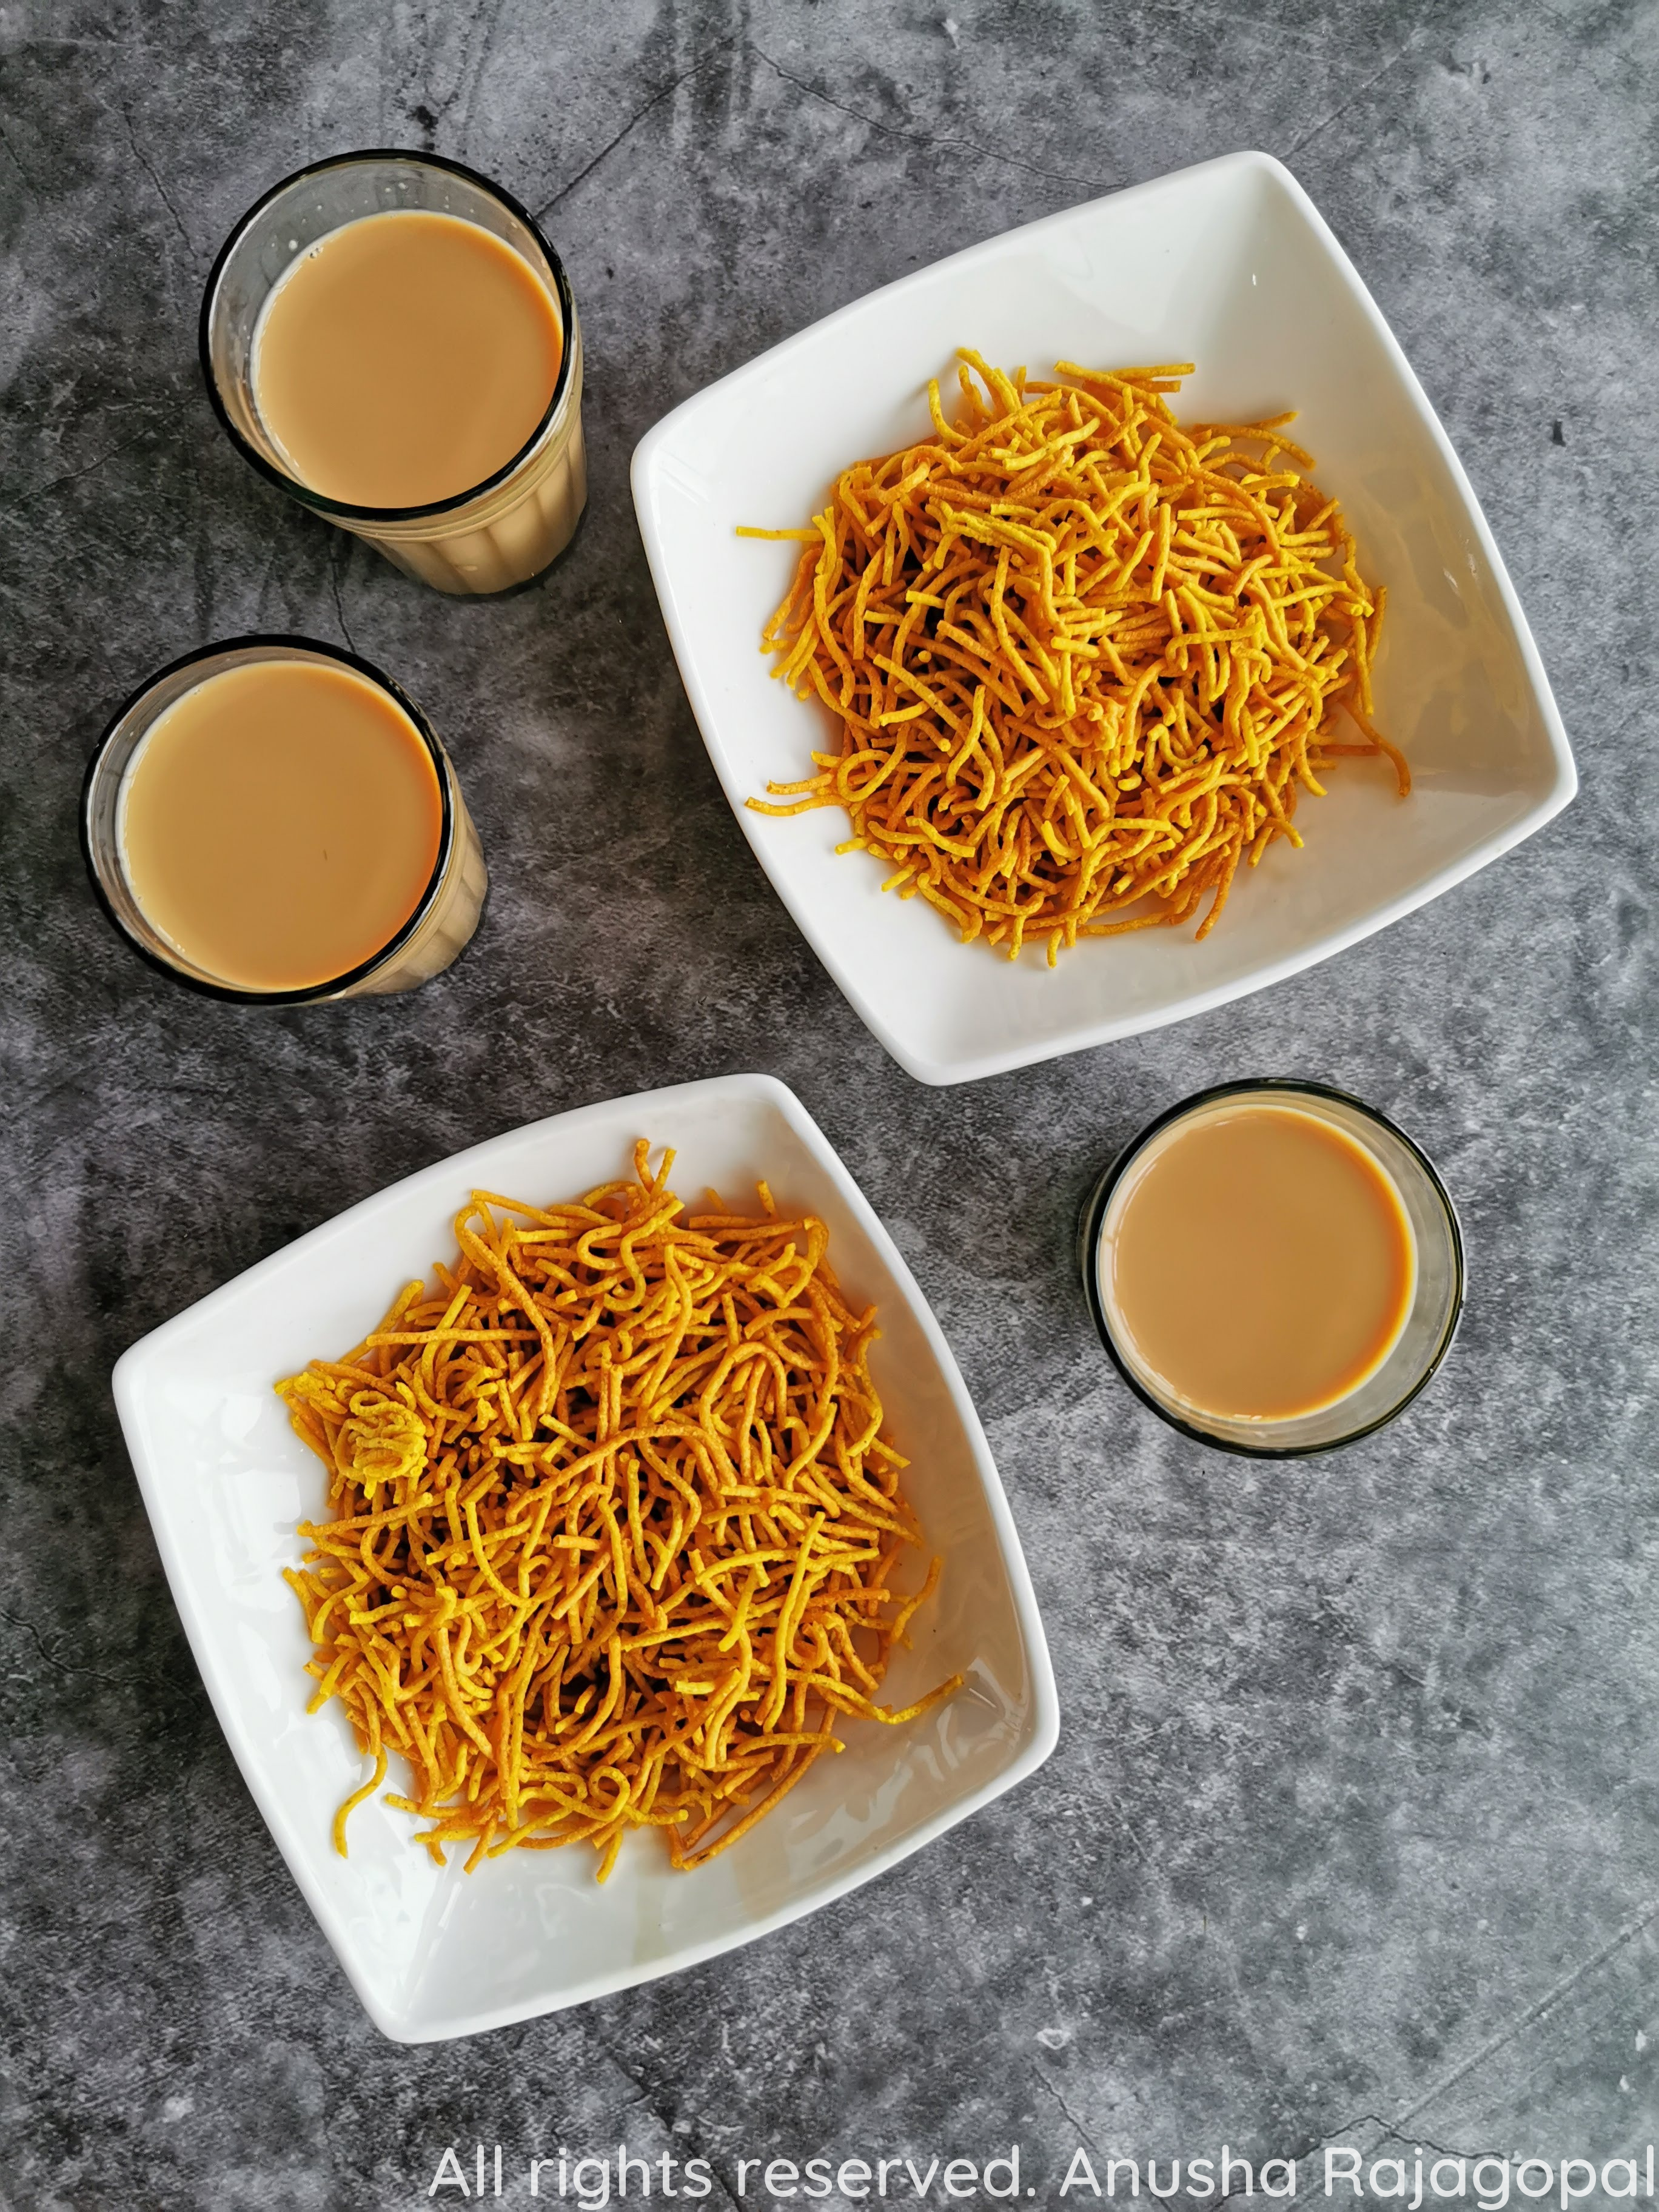
Step by step guide to make Aloo Bhujia, a popular deep-fried snack. If you have eaten Haldiram Aloo Bhujia, you will know how addictive this crispy snack can be. How about making these at home to enjoy with some piping hot chai?
Come join us on Pinterest to find delicious pins.
It s that time of the year again. Its Diwali and its the time to make some Mithai and Namkeen. I generally pick three Namkeen recipes and 3 Mithai to perfect every year before Diwali.
This Aloo Bhujia is one such recipe that I picked during the last year. Yep. It took me a year to actually write a blog post on the easiest Diwali Namkeen- crispy Aloo Bhujia.
But, better late than never, right? Right. Like I was saying, this Haldiram’s style Bhujia is a very beginner-friendly Namkeen. You can attempt this even if you have never made any kind of Namkeen before.
Alright then, let s get on with this Namkeen business, shall we?
Jump to:
What is Aloo Bhujia?
This is a deep-fried cracker style snack. Aloo means potato and Bhujia in general means a crispy snack. Think of these crackers as Potato Sev. And this is the easiest, quickest snack that you can whip up for Diwali.
What is it made of?
As the name suggests, this is a crispy snack that uses Besan, potato and some indian spices for flavors.
Is Aloo Bhujia healthy?
This is definitely a trick question. This is a deep-fried snack. But again, this is free from any kind of additives, synthetic flavors and preservatives. So this is definitely a healthier alternative if you make it at home. And in spite of being deep-fried, this doesn’t absorb too much oil. So, yes definitely a tad healthier. What’s more? This takes very little time and effort.
Vegan And Gluten-Free snack
Yes! This crunchy addictive snack is both vegan and gluten free. And this is also nut free! So yay to that.
Frying Namkeen
This tip applies for all kinds of Namkeen are deep-fried. It is very important that the oil is in the right temperature. The oil should not be smoking hot. And neither should it be warm. It should be the correct temperature. And its important to maintain that temperature throughout the whole frying time. Always fry your Namkeen at low flame. This will make sure that they are evenly fried. This is also important to retain that beautiful golden color.
If you are looking for more Diwali recipes, then check out these-
Shelf Life
This keeps well for upto ten days. Just make sure you use dry hands or a dry ladle when handling it. Also, i recommend storing them in a clean, airtight glass jar. This way, it stays crunchy and fresh.
Serving Suggestions
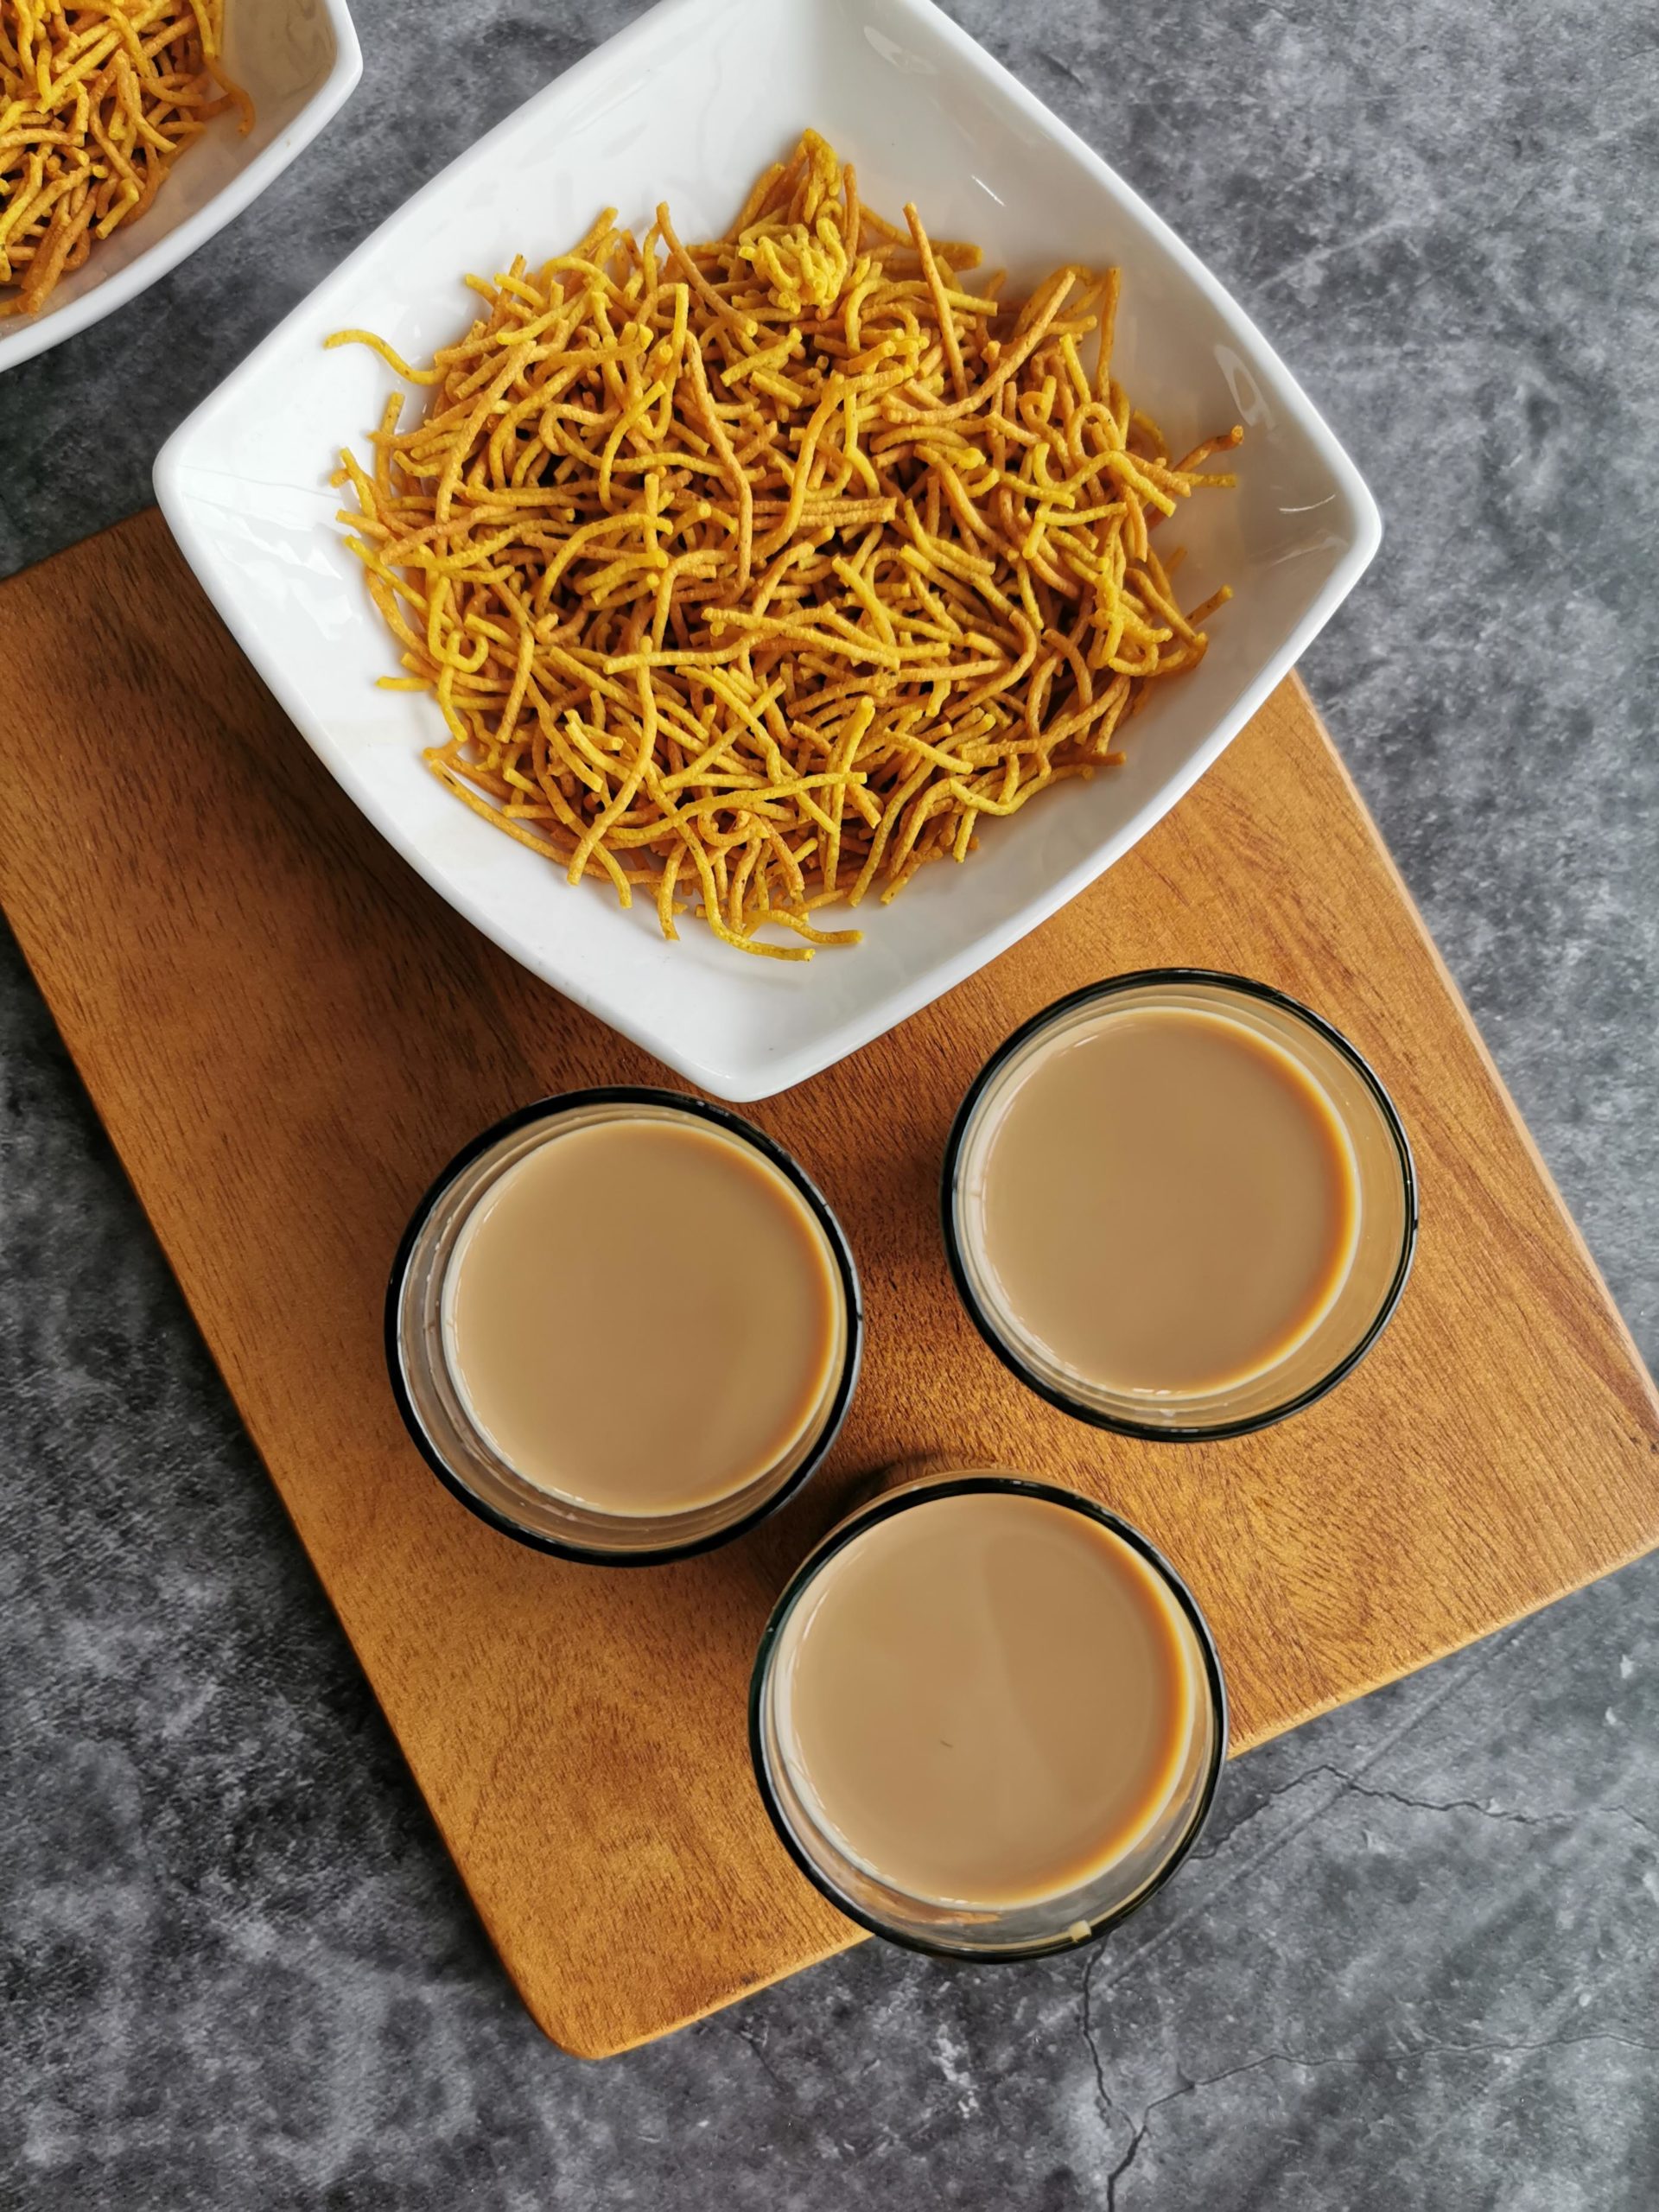
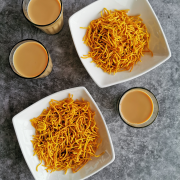
This tastes great when served as a snack with piping hot Masala Chai. You can also use this crispy Sev as a topping on Chaat and Poha.
Variations
You can experiment with the spice powders that are added to make variations in this recipe. Try adding 1 tsp black pepper powder or 3/4 tsp Pani puri masala for a different taste in your Bhujia.
Aloo Bhujia without Potatoes
People, we call it Aloo Bhujia for a reason. And yet, if you do run out of potatoes on the fateful day you decide to make this, then we do have some suggestions for you .
You can replace one potato with 2 tbsp potato starch. Read our recipe notes and substitutes suggestions to know more.
So, now shall we get started with our Diwali Namkeen process?
I have this habit of getting my Mis-en-place done before starting any dish. And here is a line-up of what I do before frying some Aloo ki Bhujiya.
Prep Work
Before we begin frying this delicious Potato Sev, let us get our prep work done.
- Muruku/ Sev Press– Before you begin making any Namkeen for Diwali, make sure you bring out the Sev press, wash it and dry it in the sun well. Make sure the press is fully dry and that there s no water on it.
- Clean airtight jar– Pick an airtight jar, wash it in warm water with very little soap. Dry it completely and set aside.
- Cook the potato– Wash and pressure cook the potato with 1 cup water and 1 tsp salt for 3 whistles. Release pressure naturally. Once done, let it cool and peel the potato. Set aside.
- Sieve the Besan (chickpea flour) – For any Namkeen that you make, it’s very important that you sieve all flours that go into it. This prevents oil bursts and such. So sieve the besan at least twice before you begin making this.
- Sort the mint leaves- Sort the mint leaves and wash them. Pat them dry with a clean kitchen towel and set aside.
- Heating the oil- Begin heating the oil parallelly when you are kneading the dough. Read our recipe notes for more on this.
- Line a Colander- Place a few kitchen paper towels on a colander and keep it ready. This will be handy when you finish frying.
Pro Tip:
I have this habit of bringing out all my Muruku press and its allied accessories two weeks before Deepavali. Then, I scrub them clean and let them dry in the sun. Once it is dry, i oil them lightly and I m ready for my Muruku business.
Can I make Aloo Bhujia without a Sev Machine?
I have a Murukku Press that has about 10 different plates to make different Namkeen. I strongly recommend using this for best results.
But if you cannot source this Sev Machine, then you can try grating the dough over a carrot grater directly into the oil. I have seen people use this method but i have not personally tried it.
So, please exercise caution if you do resort to using this method.
Ingredients- Substitutes/ Replacements
- Besan– Also called as Gram flour or chickpea flour. This is our main ingredient. You can find Besan in most Indian stores. Besan is also called as Kadala Maavu in Tamil.
- Potato– I have used a regular Holland Potato in this recipe today. But pretty much any variety will work. You can replace each potato with 2 tbsp potato starch if you do not have potatoes. You will need more water than mentioned here if you use potato starch as a replacement. You can also use mashed potatoes.
- Mint leaves– These give a nice refreshing Chatpata flavor to this recipe. So please try not to skip it. I wont recommend adding dried mint leaves.
- Black Salt/ Kala Namak– This again gives an earthy flavor. But feel free to skip it if you don’t have it. However, please remember to adjust the salt accordingly.
- Lemon juice– gives a tangy taste to the Bhujia and is highly recommended.
- Chaat Masala – This is the spice powder added to all chaat recipes. You can this in many Indian stores. This is the basic flavoring for this recipe and i will not recommend omitting this.
- Salt– We are adding two types of salt in this recipe. One is the Kala Namak and the other is the regular table salt. So please exercise caution in adding salt to the dough.
Method
Making the potato paste
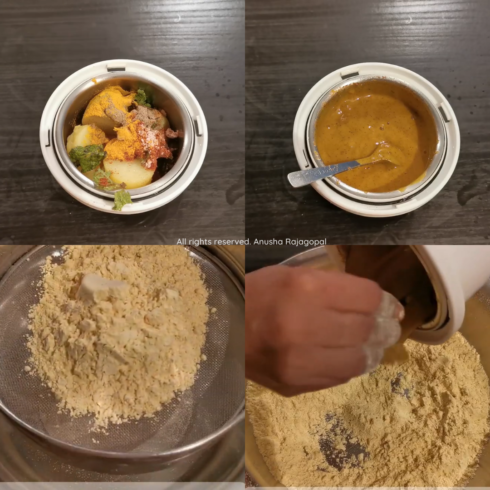
Assuming that you have the boiled potato ready, combine the potato, spice powders (red chilli powder, turmeric powder, chaat masala etc), green chili, lemon juice and mint leaves in a blender. Add water and grind this to a smooth lump free paste.
Mixing the dough
Once done, sieve the besan well. Now, combine the sieved besan and the ground paste in a mixing bowl.
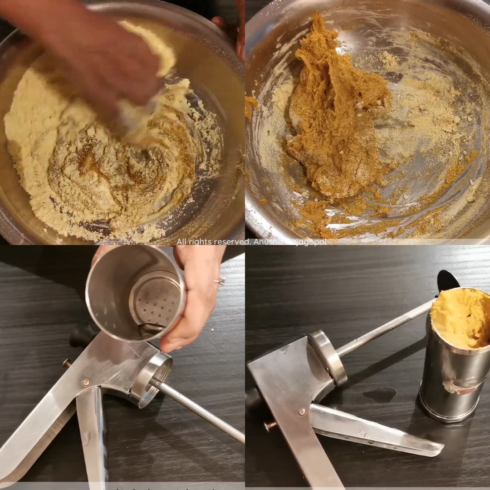
Now, slowly incorporate the ground paste into the besan and mix into a smooth crack free dough. Parallelly, heat a pan with oil for deep frying.
It is okay if the dough is slightly sticky. If you are finding the mixing to be difficult, wet your hands and continue to mix the dough.
Filling the Sev press with the dough
Once the dough is ready, grease the Sev press. Shape a ball of the Bhujia dough into a log and put it in. Close the press.
Frying
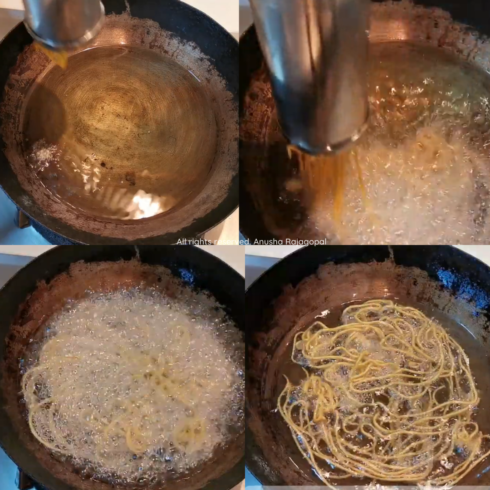
Check the oil temperature first before piping the sev in. To do this, pinch a small piece of dough and drop it into the oil. If it comes floating to the surface immediately, that is the right heat.
When the oil is hot, squeeze the dough in circles into the oil directly. Fry these on low heat always to avoid burning. And do not squeeze the dough in overlapping fashion.
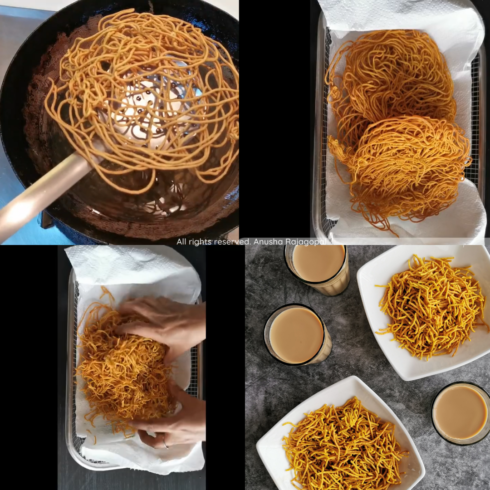
Flip the Bhujia midway while frying to ensure that it is cooked evenly.
How to find out if the Aloo Bhujia is fried correctly?
The Bhujia will float on the surface and the oil will not have any more bubbles on the surface. This means that the Bhujia is completely fried. Another indication is that there will be no sizzling sound from the oil when its completely fried.
Once one batch of Bhujia is fried, drain on a kitchen towel. Let it cool down for a bit. Then break them down into smaller pieces. Store in a clean airtight jar. Repeat the same process with the remaining dough.
Watch Aloo Bhujia recipe video
Aloo Bhujia
Equipment
- Sev Press ( Check out our Amazon shop to know which is ours)
- Frying Pan
- Slotted ladle
- Colander
- Mixing bowl
Ingredients
For the Potato Paste
- 2 medium size Potatoes boiled and peeled
- 10 mint leaves
- 1 tsp Chaat masala
- 1 tsp Chili Powder
- 1 tsp Turmeric powder
- 1 tsp Black salt
- 1 tbsp Lemon juice
For the dough
- 1 c Besan
- 1 recipe Potato paste
- 1/2 tsp Salt or to taste
For frying
- 250 ml Vegetable oil or Cold-pressed peanut oil
Instructions
Grinding the mixture
- Combine the potato, spice powders, green chili, lemon juice and mint leaves in a blender. Add water and grind this to a smooth lump free paste.
Making the dough
- Once done, sieve the besan well.
- Now, combine the sieved besan and the ground paste in a mixing bowl.
- Slowly incorporate the ground paste into the besan and mix into a smooth crack free dough. Parallelly, heat a pan with oil for deep frying.
- It is okay if the dough is slightly sticky. If you are finding the mixing to be difficult, wet your hands and continue to mix the dough.
Filling the Sev Press
- Once the dough is ready, grease the Sev press. Shape a ball of the Bhujia dough into a log and put it in. Close the press.
Frying the Bhujia
- Check the oil temperature first before piping the sev in. To do this, pinch a small piece of dough and drop it into the oil. If it comes floating to the surface immediately, that is the right heat.
- When the oil is hot, squeeze the dough in circles into the oil directly.
- Make sure the flame is always on low. And do not squeeze the dough into the oil in an overlapping fashion.
- Flip the Bhujia midway while frying to ensure that it is cooked evenly.
- The Bhujia will float on the surface and the oil will not have any more bubbles on the surface. This means that the Bhujia is completely fried. Another indication is that there will be no sizzling sound from the oil when its completely fried.
- Once one batch of Bhujia is fried, drain on a kitchen towel. Let it cool down for a bit. Then break them down into smaller pieces.
- Store the fried Bhujia in clean and dry airtight container.
- Repeat the same process with the remaining dough.
For Instant Pot & Air Fryer Recipes
Instant Pot timings may vary based on your geographic location. Air fryer settings and timings may vary based on the capacity and the model of the Air fryer.
Disclaimer
Nutrition values are provided here as a courtesy and are only a rough guide. Please consult a health care provider if you have any concerns.

Leave a Reply